最近業務で NestJS を使ったAPIサーバーを構築する機会があり、その際、ユーザー認証を Amazon Cognito と LINE Login で行いました。
認証自体は NestJSのGuards でそれぞれの認可サーバーを使用したトークンの検証を実装すればいいのですが、開発中はトークンを簡単に発行できる手段がなかったため、 Postman などのAPIクライアントツールで毎回トークンを発行し、リクエストヘッダーに張り付けて検証しており、とても不便でした。
そこで、本記事では、 Swagger の定義ファイルにOAuth2の認証情報を書き込むことで、Authorizeボタンのクリックするだけでトークンを発行できるようにし、この不便さを解消したいと思います。
本記事で作成するNestJSアプリケーションは、以下のリポジトリからクローン可能です。
GitHub - FOURIER-Inc/nestjs-swagger
Contribute to FOURIER-Inc/nestjs-swagger development by creating an account on GitHub.
https://github.com/FOURIER-Inc/nestjs-swagger
前提
全て一から説明すると膨大な文章量になってしまうため、本記事では以下の前提で説明します。
- AWS CLIの設定が完了している
- Amazon Cognitoでユーザープールの作成が完了している
- LINE developers accountで、LINE Loginチャネルの作成が完了している
- NestJSをある程度使ったことがあり、基本的な設定方法が分かる
環境構築
まずは、NestJSの初回セットアップから、Swaggerドキュメントを表示できるところまで準備します。
npm i -g @nestjs/cli
nest new nestjs-swagger
次に、Swaggerを表示するのに必要な、 @nestjs/swagger をインストールします。
npm i -D @nestjs/swagger
インストール後、 src/app.controller.ts を以下のように書き換えます。Controllerのエンドポイントは、それぞれCognitoとLINEのGuardを設定し、認証してからでないとアクセスできないようにする予定です。
import { Controller, Get } from '@nestjs/common';
import { ApiOkResponse, ApiProperty } from '@nestjs/swagger';

class MessageContainer {
  @ApiProperty()
  message: string;
}

@Controller()
export class AppController {
  @Get('/cognito')
  @ApiOkResponse({ type: MessageContainer })
  getCognitoHello(): MessageContainer {
    return {
      message: 'Authorized by Cognito!',
    };
  }

  @Get('/line')
  @ApiOkResponse({ type: MessageContainer })
  getLineHello(): MessageContainer {
    return {
      message: 'Authorized by LINE!',
    };
  }
}
最後に src/main.ts ファイルを以下のように編集し、Swaggerドキュメントが生成・表示されるようにします。
import { NestFactory } from '@nestjs/core';
import { AppModule } from './app.module';
import { INestApplication } from '@nestjs/common';
import { DocumentBuilder, SwaggerModule } from '@nestjs/swagger';

async function bootstrap() {
  const app = await NestFactory.create(AppModule);

  buildOpenApiDocument(app);

  await app.listen(3000);
}

bootstrap().then();

function buildOpenApiDocument(app: INestApplication): void {
  const options = new DocumentBuilder().setTitle('Nestjs Swagger').build();
  const document = SwaggerModule.createDocument(app, options);
  SwaggerModule.setup('doc', app, document);
}
ここまでセットアップ出来たら、NestJSアプリケーションを立ち上げ、
npm run start:dev
ブラウザから http://localhost:3000/doc を開き、Swagger Documentが表示されれば、初期セットアップは完了です。
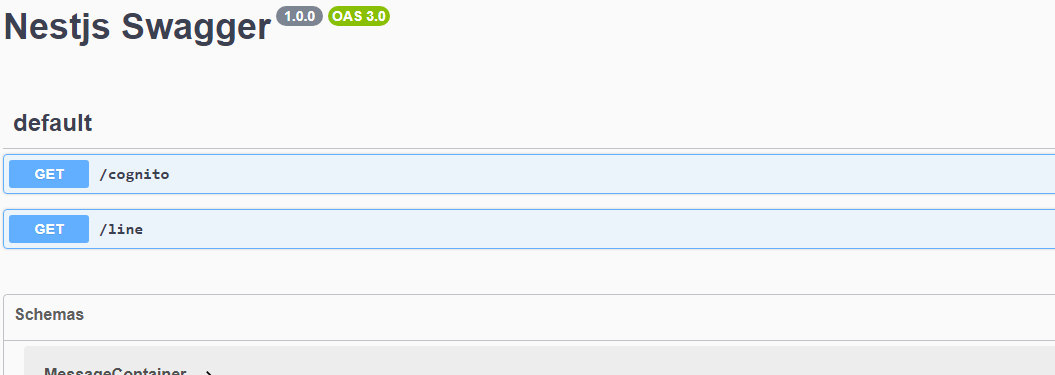
現時点では、認証設定は何もしていないので、Authorizeボタンも表示されませんし、 /cognito と /line も制限なくアクセスできます。
Amazon CognitoとLINEのセットアップ
環境構築だけでもなかなか大変ですが、このセクションも結構手間がかかります。
内容自体はこのブログの主題から逸れてしまうため、サッとスクリーンショットを中心にどのような設定をしたか説明し、この後の実装で必要になるパラメータを確認していきます。
Amazon Cognito
ユーザープールを作成したあと、OAuth2に関連する設定がされているか確認します。
この時、以下のパラメータをメモしておいてください。
- ユーザープールID
- Cognitoドメイン(URL)
- クライアントID
- クライアントシークレット
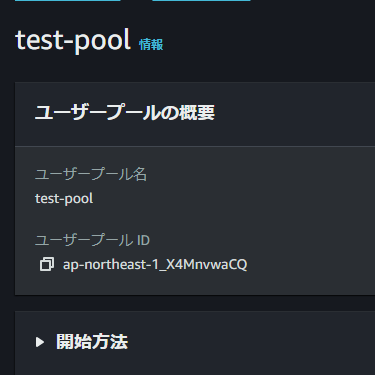
ユーザープールの概要
ユーザープールID をメモします。
アプリケーションの統合タブ
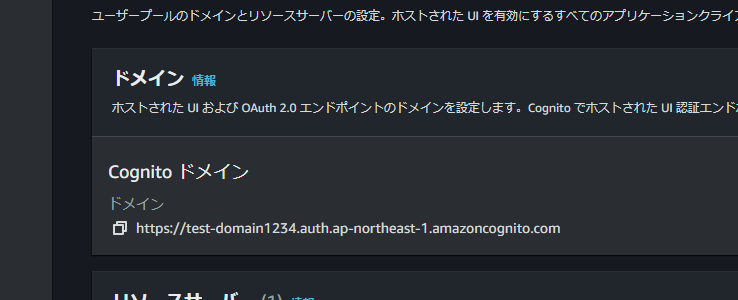
ドメイン
Cognito ドメイン をメモします。
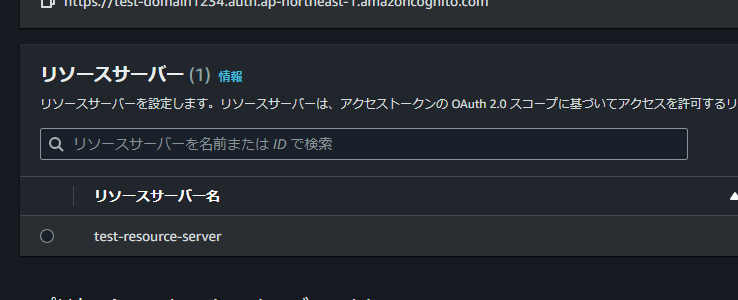
リソースサーバー
リソースサーバーが1つ設定されていればOKです。
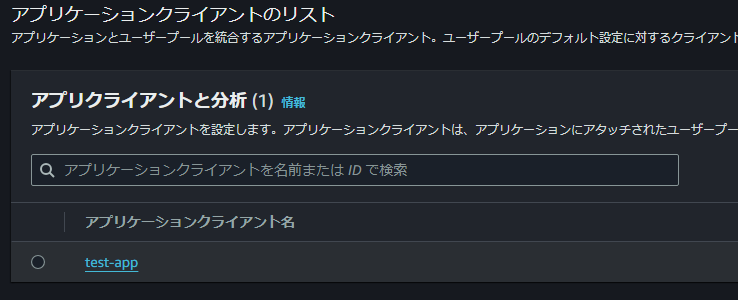
アプリケーションクライアントのリスト
1つアプリケーションが設定されていればOKです。
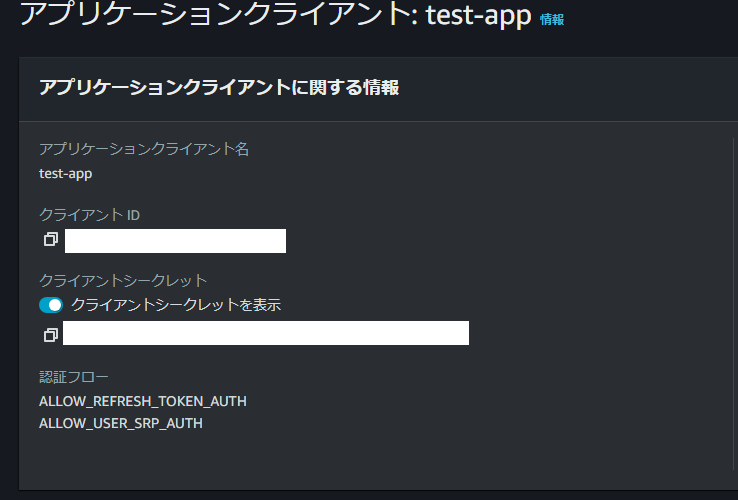
アプリケーションクライアント > アプリケーションクライアントに関する情報
クライアントID と クライアントシークレット をメモします。
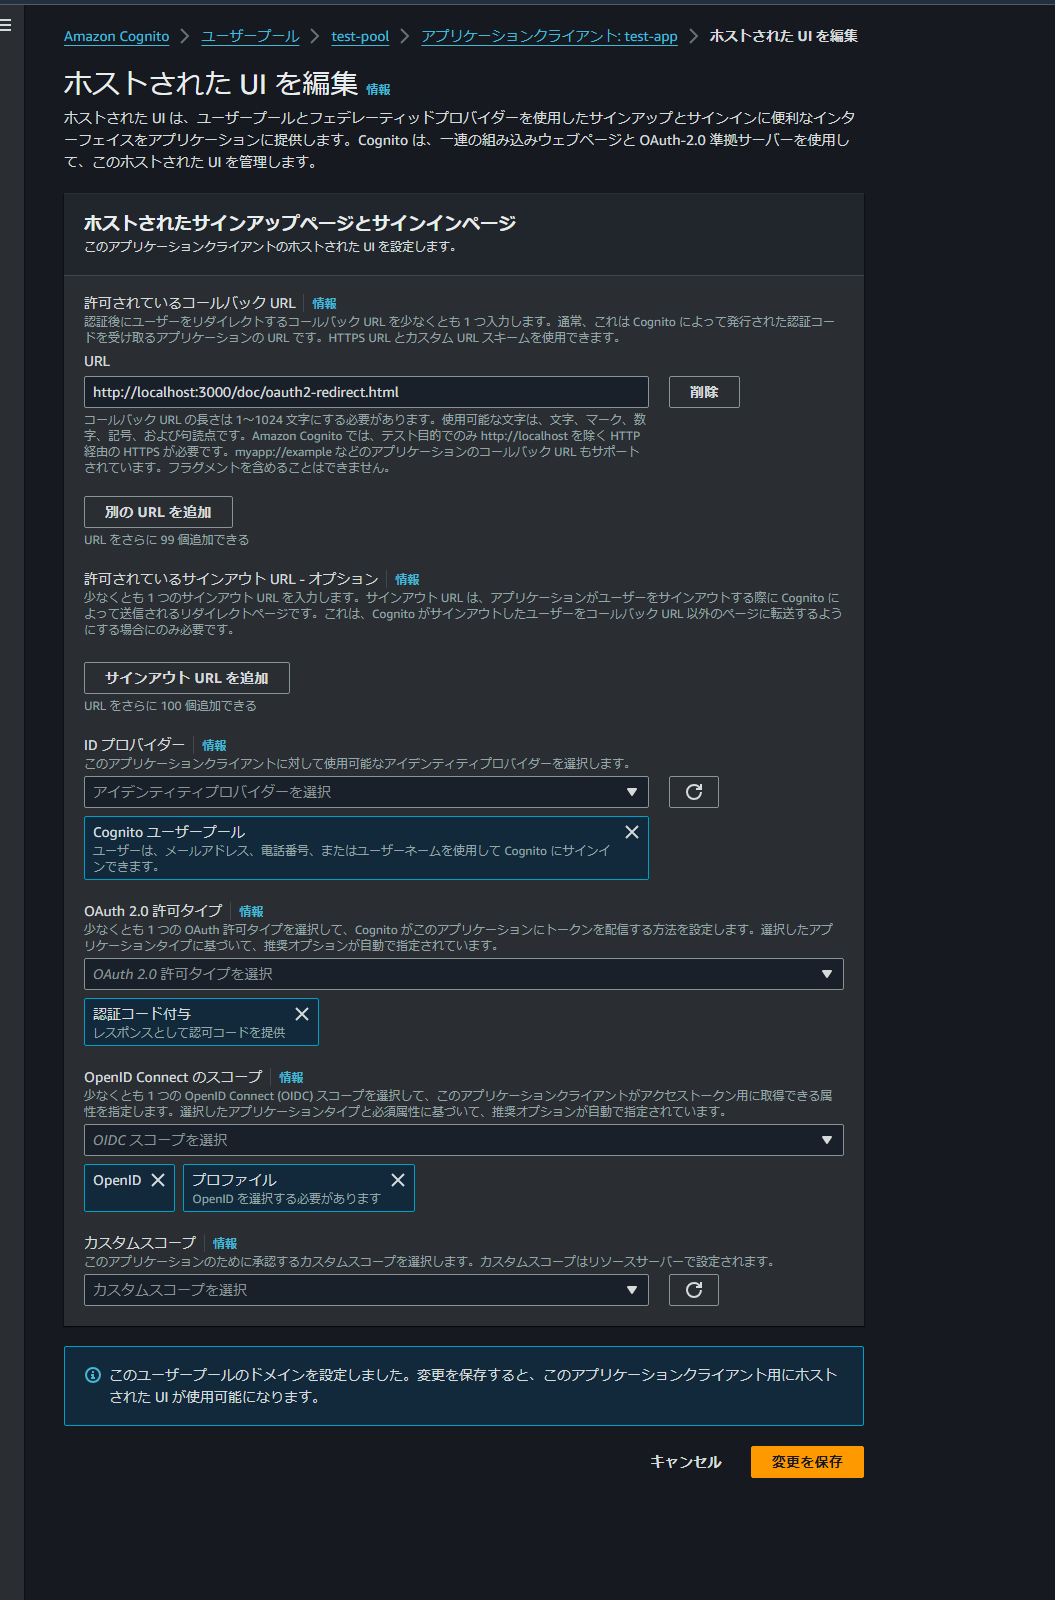
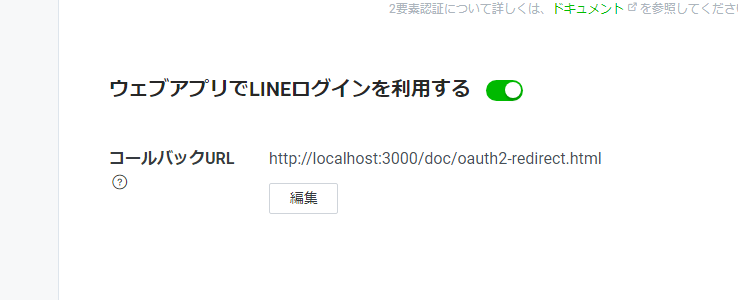
アプリケーションクライアント > ホストされたUI
スクリーンショットのように設定します。
この際、許可されているコールバックに、 http://localhost:3000/doc/oauth2-redirect.html を設定します。
💡
Nginxなどでホスト名を変えている場合
ローカル開発において、Nginxなどで
http://hogehoge.localhost といったようにホスト名を変えている場合、コールバックURLに登録することができません。
自分も同じ問題にハマりましたが、 http://localhost?redirect=http://hogehoge.localhost/doc/oauth2-redirect.html といった風に、クエリパラメータとしてリダイレクト先を設定し、Nginxの設定で redirect パラメータが来た場合はリダイレクトするように設定すると、うまく動きます。
LINE Login
LINE Loginチャネルの チャネル基本設定 タブを開き、以下の項目を確認します。
- Channel ID
- Channel Secret
また、LINEログイン設定のコールバックURLに http://localhost:3000/doc/oauth2-redirect.html を設定します。
Guardの追加
次にGuardを追加し、設定したエンドポイントで認証するように設定します。
Guardも簡単な紹介にとどめますが、リポジトリには、今回作成したNestJSアプリケーションがあるので、そちらも参考にしてください。
GitHub - FOURIER-Inc/nestjs-swagger
Contribute to FOURIER-Inc/nestjs-swagger development by creating an account on GitHub.
https://github.com/FOURIER-Inc/nestjs-swagger
Amazon Cognito
まずは、Amazon Cognitoのトークンを検証するため、 aws-jwt-verify パッケージを追加します。
npm i aws-jwt-verify
次に、以下のGuardの AWS_COGNITO_USER_POOL_ID と AWS_COGNITO_USER_POOL_CLIENT_ID を置き換えてください。
import { CanActivate, ExecutionContext, Injectable } from '@nestjs/common';
import { CognitoJwtVerifier } from 'aws-jwt-verify';
import { CognitoJwtVerifierSingleUserPool } from 'aws-jwt-verify/cognito-verifier';
import { CognitoAccessTokenPayload } from 'aws-jwt-verify/jwt-model';

@Injectable()
export class AmazonCognitoGuard implements CanActivate {
  async canActivate(context: ExecutionContext): Promise<boolean> {
    const request = context.switchToHttp().getRequest();
    const authorization = request.headers['authorization'];
    if (!authorization) return false;

    const result = await this.getToken(authorization);
    return result !== undefined;
  }

  async getToken(
    authorization: string,
  ): Promise<CognitoAccessTokenPayload | undefined> {
    const token = authorization.replace('Bearer ', '');

    try {
      return await this.makeVerifier().verify(token);
    } catch (e) {
      return undefined;
    }
  }

  makeVerifier(): CognitoJwtVerifierSingleUserPool<{
    userPoolId: string;
    tokenUse: 'access';
    clientId: string | string[] | null;
  }> {
    return CognitoJwtVerifier.create({
      userPoolId: 'AWS_COGNITO_USER_POOL_ID', // Replace with your user pool id
      tokenUse: 'access',
      clientId: 'AWS_COGNITO_USER_POOL_CLIENT_ID', // Replace with your user pool client id
    });
  }
}LINE Login
LINEはAWSと違いパッケージ等がないので、自分でトークンをサーバーに送信し、検証する必要があります。
送信するためのHTTPクライアントとして、 axios パッケージをインストールします。 axios の使用は個人的な好みなので、 fetch でも可能だと思います。
npm i axios
次に、以下のGuardの LINE_LOGIN_CHANNEL_ID を置き換えます。
import { CanActivate, ExecutionContext, Injectable } from '@nestjs/common';
import http from 'http';
import axios from 'axios';

@Injectable()
export class LineLoginGuard implements CanActivate {
  async canActivate(_: ExecutionContext): Promise<boolean> {
    const request = _.switchToHttp().getRequest() as http.IncomingMessage;
    const authorization = request.headers['authorization'];
    if (!authorization) return false;
    const token = authorization.replace('Bearer ', '');

    const data = await this.verify(token);

    if (
      data.expires_in < 1 ||
      data.client_id !== 'LINE_LOGIN_CHANNEL_ID' // Replace with your LINE Login channel id
    ) {
      return false;
    }

    return data.scope.includes('openid');
  }

  async verify(token: string): Promise<{
    client_id: string;
    expires_in: number;
    scope: string;
  }> {
    const response = await axios.get<{
      client_id: string;
      expires_in: number;
      scope: string;
    }>('/verify', {
      baseURL: 'https://api.line.me/oauth2/v2.1',
      params: {
        access_token: token,
      },
    });

    return response.data;
  }
}
これらのGuardをControllerに設定します。後述しますが、複数のOAuth2スキーマを持つ場合、 @ApiOAuth2 に名前も指定する必要があります。
@UseGuards(AmazonCognitoGuard)
@ApiOAuth2(['openid'], 'Amazon Cognito')
getCognitoHello(): MessageContainer;

@UseGuards(LineLoginGuard)
@ApiOAuth2(['openid'], 'LINE Login')
getLineHello(): MessageContainer;
Swagger Documentに鍵マークが表示されれば完了です。
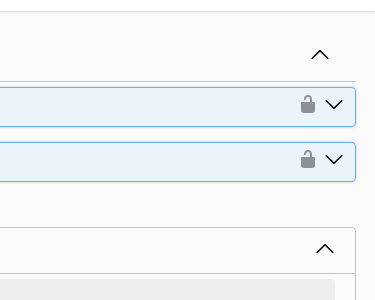
この時点でAPIをたたくと、Guardでの認証に失敗し、403レスポンスが返ってくると思います。
SwaggerのAuthorization設定
ようやく本題となるSwaggerの設定ですが、以下のように書けば、Amazon CognitoとLINE LoginのOAuth2スキーマを登録できます。
function buildOpenApiDocument(app: INestApplication): void {
  const options = new DocumentBuilder()
    .setTitle('Nestjs Swagger')
    .addOAuth2(
      {
        type: 'oauth2',
        description: 'Amazon Cognito user pool authentication',
        flows: {
          authorizationCode: {
            authorizationUrl:
              'AMAZON_COGNITO_USER_POOL_DOMAIN/oauth2/authorize',
            tokenUrl: 'AMAZON_COGNITO_USER_POOL_DOMAIN/oauth2/token',
            scopes: {
              openid: 'openid token',
            },
          },
        },
      },
      'Amazon Cognito',
    )
    .addOAuth2(
      {
        type: 'oauth2',
        description: 'LINE Login authentication',
        flows: {
          authorizationCode: {
            authorizationUrl:
              'https://access.line.me/oauth2/v2.1/authorize/oauth2/authorize',
            tokenUrl: 'https://api.line.me/oauth2/v2.1/token',
            scopes: {
              profile: 'user profile',
              'profile openid': 'user profile and openid',
              'profile openid email': 'user profile, openid and email',
              openid: 'openid',
              'openid email': 'openid token and email',
            },
          },
        },
      },
      'LINE Login',
    )
    .build();
  const document = SwaggerModule.createDocument(app, options);
  SwaggerModule.setup('doc', app, document, {
    swaggerOptions: {
      oauth2RedirectUrl: 'http://localhost:3000/doc/oauth2-redirect.html',
    },
  });
}
このコードのポイントは以下の通りです。
-
authorizationUrlとtokenUrlにはOAuth2の認証エンドポイントを指定します。Amazon Cognitoの場合はドメイン+固定パス、LINE Loginの場合は ドキュメント を参考に指定します。 -
scopesにopenidを必ず含めます。 -
addOAuth2の第2引数に名前を指定します。この名前はControllerの@ApiOAuth2で指定した名前と一致している必要があります。 -
SwaggerModule.setupのswaggerOptions.oauth2RedirectUrlに、http://localhost:3000/doc/oauth2-redirect.htmlを指定します。
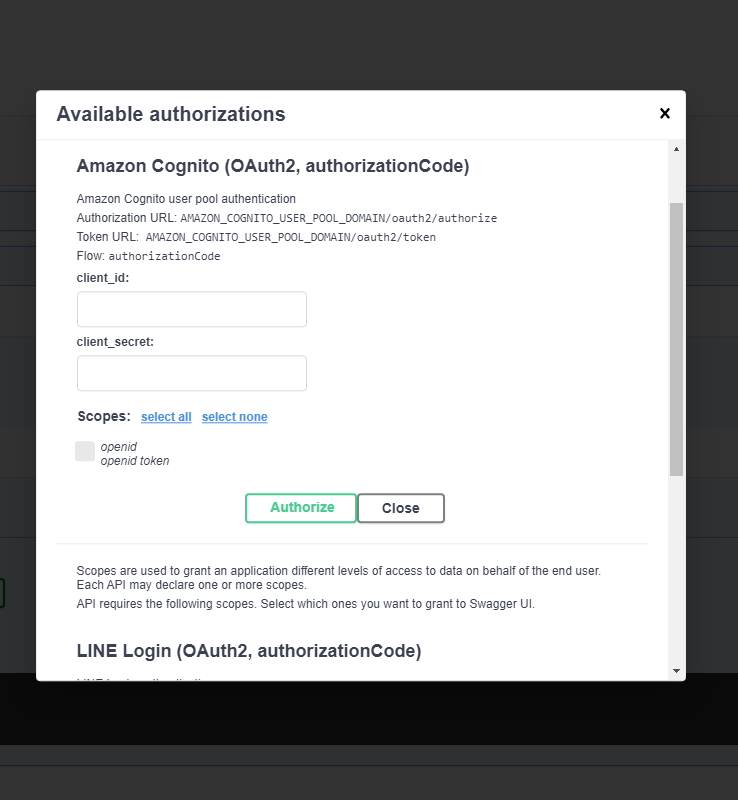
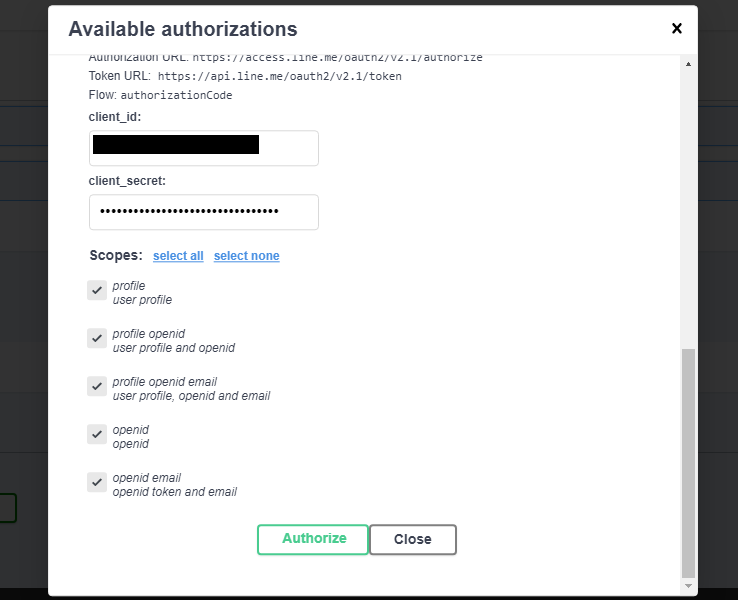
この設定後、Swagger Documentを開き、Authorizeをクリックすると、2つのOAuth2スキーマが設定されているのが確認できます。
ℹ️
OAuth2スキーマが1つの場合、
SwaggerModule.setup 関数の swaggerOptions にて initOAuth を設定することで、 client_id と client_secret のデフォルト値を設定することができます。
確認
全ての設定が完了したので、実際に認証をしてみます。
Amazon Cognito
/cognito エンドポイントの右側の錠マークをクリックし、 client_id 、 client_secret 、 scopes を入れた後、Authorizeをクリックします。
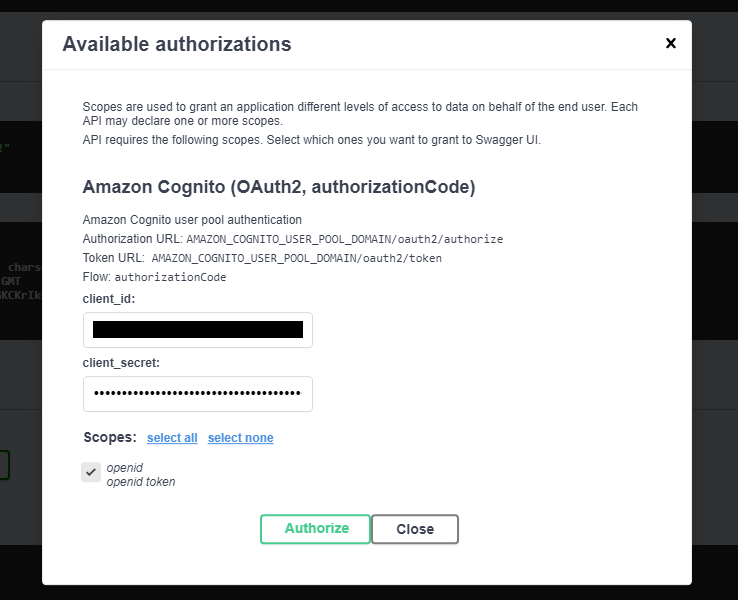
正しく設定されていれば、以下のように認証画面が出てくるので、ログインかサインアップをします。
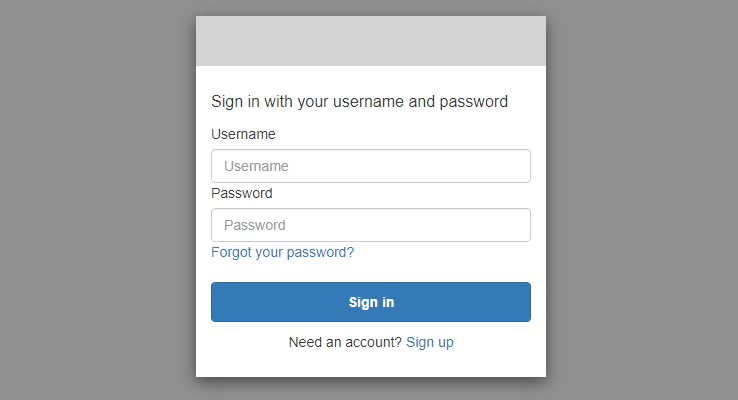
ログインに成功すると、Swagger Documentにリダイレクトされます。
これで、 /cognito エンドポイントを叩いた時、トークンの認証が行われ、200レスポンスが返るようになります。
LINE Login
LINEの認証の場合も同様に、 client_id 、 client_secret 、 scopes を入れた後、Authorizeをクリックします。
正しく設定されていれば、以下のようにLINEのログイン画面が出てくるので、ログインします。
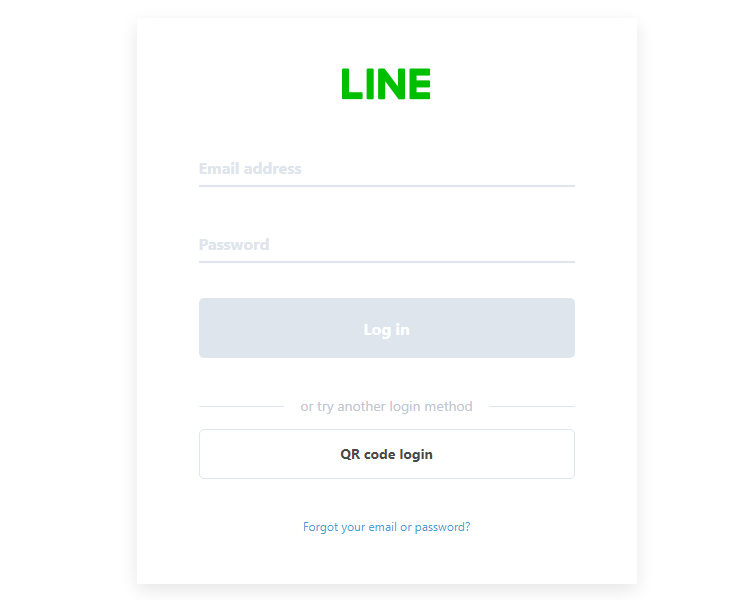
ログインに成功すると、Swagger Documentにリダイレクトされます。
これで、 /line エンドポイントを叩いた時、トークンの認証が行われ、200レスポンスが返るようになります。
まとめ
この記事では、SwaggerのAuthorization機能で、Amazon CognitoとLINE LoginとのOAuth2認証をするための設定をし、発行したトークンでNestJSのGuardで認証できることを確認しました。
設定の主要ポイントは以下の通りです。
-
OAuth2の認証には、
クライアントIDとクライアントシークレットが必要 -
NestJSのSwaggerには、
/oauth2-redirect.htmlエンドポイントがあるので、認可サーバーの コールバックURL とSwaggerに リダイレクトURL に設定する - トークンの検証サーバーは、LINE Loginのように URL で指定する方法や、Amazon Cognitoのように サービスごとの固有パラメータ で指定する方法がある
2つの認可サーバーを設定したので、サーバーごとの違いもある程度理解し、OAuth2についても理解が深まりました。
この記事の内容が、皆さんのAPI開発に役立てられれば幸いです。